How Do You Refill a Mechanical Pencil?
Refilling a mechanical pencil is a straightforward maintenance task, but doing it incorrectly leads to snapped leads and jammed mechanisms. Understanding how your specific writing instrument handles graphite keeps your notes smooth and your tools lasting for years.
Standard stationery data indicates that billions of graphite sticks are manufactured annually to support everyday writing and drafting tasks. Let us look at the proper methods for reloading graphite without damaging the internal clutch.
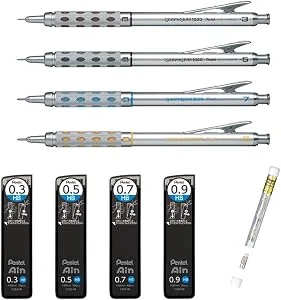
Image source: Bing (Web (fair-use with source credit))
Quick Answer
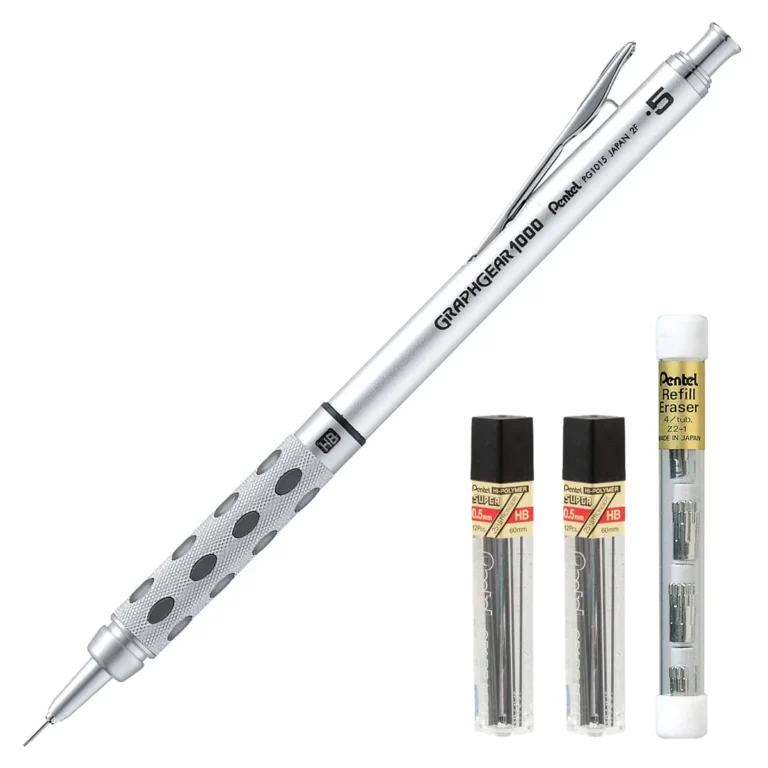
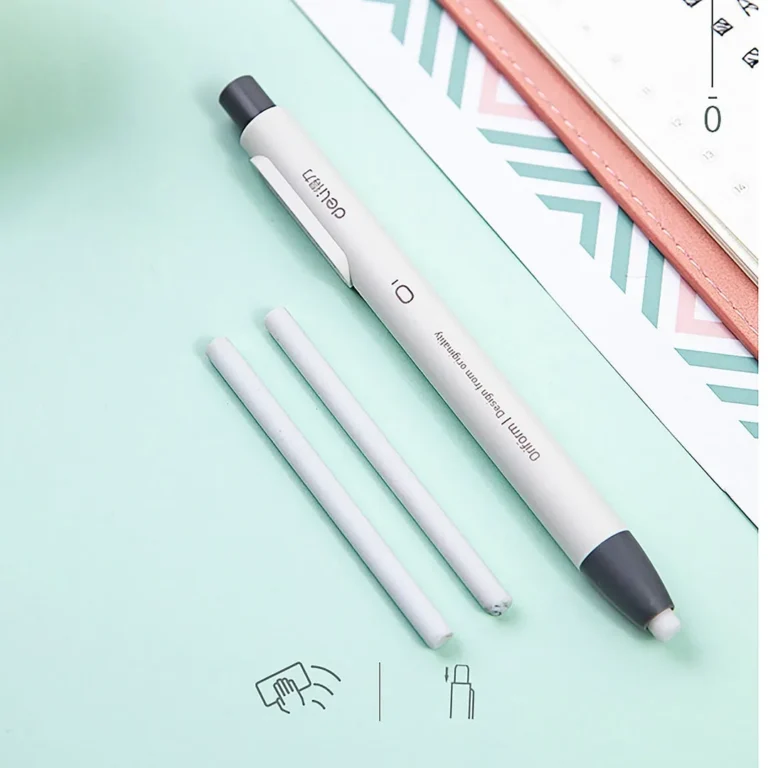
How do you refill a mechanical pencil? Pull off the eraser cap. Remove the small eraser.
Drop new graphite sticks into the rear tube. Replace the eraser and cap. Click until the lead advances.
Why Refilling a Mechanical Pencil Isn't Always as Simple as It Looks
Most people assume you just jam a piece of graphite into the tip and hope for the best. That mistake ruins the internal clutch and jams the entire channel.
Real writing instruments rely on precise internal tolerances. Forcing graphite through the front guide pipe bends the delicate brass teeth inside. You must always load replacement sticks from the rear chamber.
When you follow the correct rear loading path, the graphite feeds smoothly into the ratcheting system. This preserves the internal components of options featured on our list of top-rated student writing tools.
Proper handling prevents frustration during long study sessions or detailed sketching projects. Taking ten seconds to load your pencil the right way saves you from buying replacements prematurely.
Anatomy of Your Pencil: Knowing Your Parts Before You Load
Every standard mechanical pencil shares a few basic internal and external parts. Knowing what each component does helps you troubleshoot loading issues quickly.
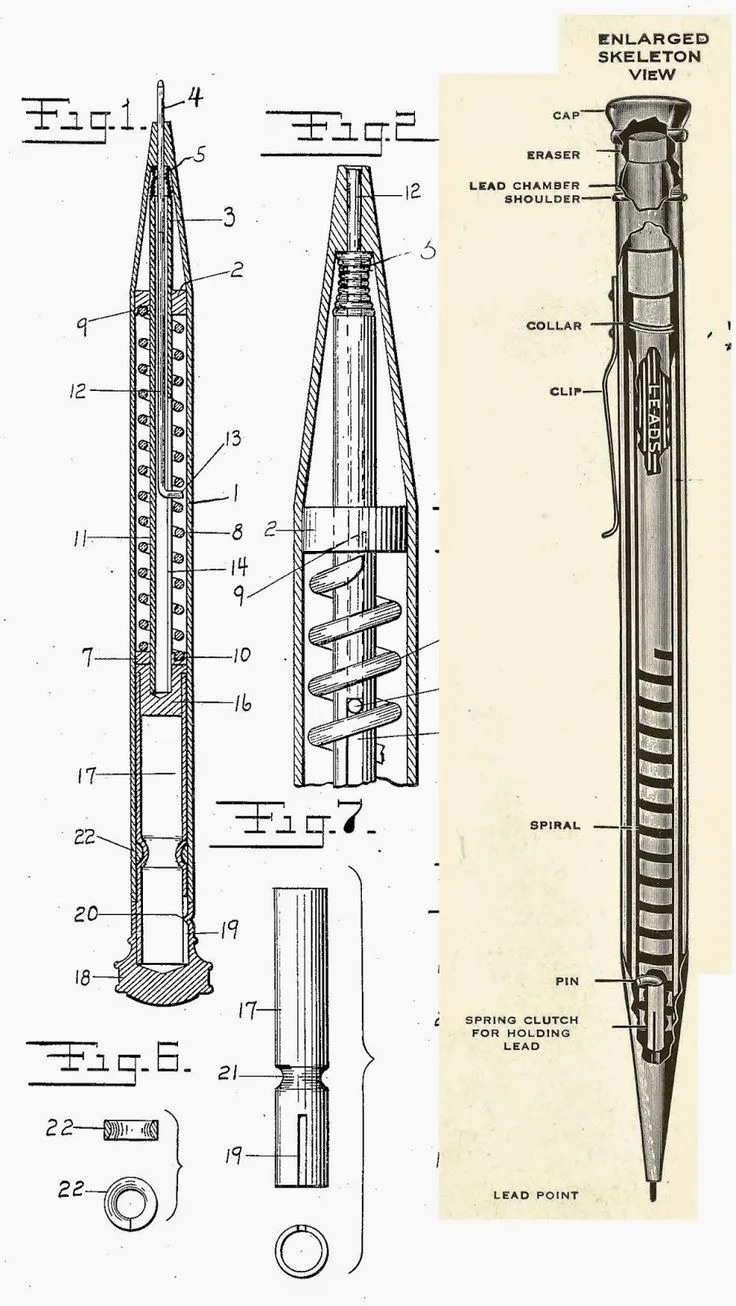
Image source: Bing (Web (fair-use with source credit))
The eraser cap protects the eraser and keeps dust out of the core. Beneath that cap sits a small eraser that often plugs the top of the lead reservoir.
The lead reservoir is the hollow plastic tube running down the center of the barrel. It stores your spare graphite sticks until the advancement mechanism needs them.
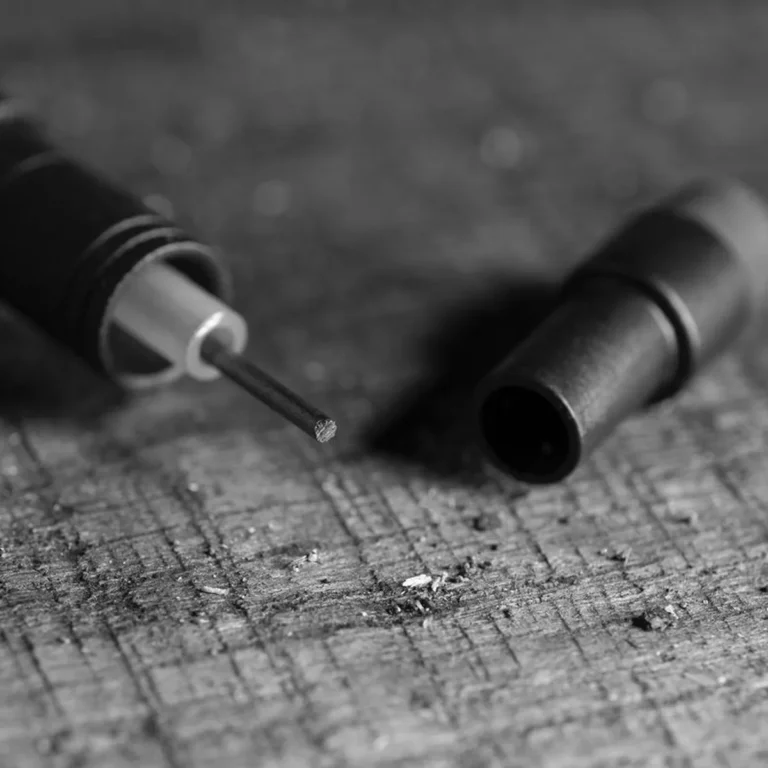
At the business end, you will find a metal guide pipe and a clutch mechanism. The clutch grips the graphite and advances it in tiny increments with every click of the cap.
Manufacturer specifications from brands like Pentel highlight how fragile these internal clutches are when overloaded. Never drop more than two or three pieces of graphite into the reservoir at once to prevent jamming.
Step-by-Step Guide: How to Refill Your Mechanical Pencil Correctly
Refilling your pencil takes less than a minute when you follow a repeatable workflow. Gather your matching graphite size before you start the process.
- Remove the small eraser cap by pulling it straight off the back of the pencil barrel.
- Pull the eraser out of the metal collar to expose the opening of the lead reservoir.
- Take two fresh graphite sticks from your storage tube and hold them by the ends.
- Insert the graphite straight down into the open top of the reservoir tube.
- Push the eraser back into place and snap the metal cap over it securely.
- Click the top button several times until the new graphite extends past the metal guide pipe.
If the graphite refuses to advance, stop clicking immediately. Forcing the clicker against a blockage crushes the graphite inside the barrel and creates a stubborn jam.
Fixing a Jam: What to Do When the Lead Gets Stuck
A jammed mechanical pencil usually happens when a broken piece of graphite gets wedged in the clutch. Fixing this requires a small metal clearing rod rather than a sewing needle.
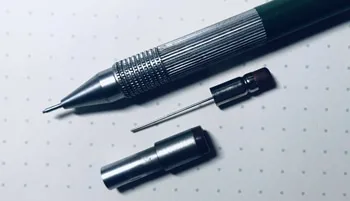
Image source: Bing (Web (fair-use with source credit))
Many eraser pins double as clearing rods, or you can use a thin wire matched to your pencil size. Remove the cap and the eraser from the back of the pencil barrel.
Drop the clearing rod down through the empty rear reservoir until it reaches the tip. Gently push the rod downward to force any broken fragments out through the front guide pipe.
Never push a pin upward from the tip of the pencil. Going backward pushes jammed debris deeper into the locking mechanism and ruins the tool permanently.
Once the broken pieces fall out of the tip, test the clicker mechanism. If you are shopping for a replacement for a hopelessly jammed unit, explore our favourite picks for technical sketching to find a sturdier upgrade.
Choosing the Right Lead Size and Hardness for Your Work
Choosing the correct graphite size is just as important as knowing how to load it. Trying to force a 0.7mm stick into a 0.5mm barrel will instantly ruin the precision mechanism.
| Lead Size | Best Used For | Typical Hardness Grades |
|---|---|---|
| 0.3mm | Ultra-fine details, technical drafting | HB, H, 2H |
| 0.5mm | Standard writing, precise note-taking | HB, B, 2B |
| 0.7mm | General writing, sketching, everyday use | HB, B, 2B |
| 0.9mm | Heavy pressure writers, thick lines | HB, B |
Match your graphite diameter to the specification printed on your pencil barrel or pocket clip. Using softer grades like 2B provides darker lines, but it wears down faster and breaks more easily during loading.
Harder grades like 2H resist smudging, but they require a lighter touch on the paper. Selecting the right grade improves your writing comfort and keeps your workflow uninterrupted.
Common Refilling Mistakes That Ruin Mechanical Pencils
Many users damage their writing instruments through simple habits that are easy to avoid. Recognizing these errors helps you get maximum lifespan out of your stationery.
| Common Mistake | Why It Causes Damage | Correct Approach |
|---|---|---|
| Front-loading graphite | Jams the clutch and breaks internal teeth | Always load spare sticks through the rear chamber |
| Overfilling the reservoir | Causes graphite to bind and snap inside the tube | Limit loads to two or three sticks at a time |
| Using mismatched sizes | Forces wrong diameters into tight guide pipes | Check barrel specs and match lead size exactly |
| Pushing pins from the front | Wedges broken fragments deeper into the clutch | Clear jams from the rear using a proper clearing rod |
Avoiding these simple pitfalls keeps your writing tools in top condition for years. For an overview of current models designed to resist these exact issues, take a look at our comprehensive guide to reliable options.
Careful maintenance ensures your daily writing instruments stay dependable through heavy use.
Frequently Asked Questions About Mechanical Pencil Refills
Can you put lead in the front of a mechanical pencil?
No, you should never load graphite through the tip. Front-loading bypasses the holding chamber and forces the stick directly into the delicate internal clutch, causing permanent jams. Always remove the eraser and load spare graphite through the rear reservoir.
How many pieces of lead should you put in at once?
Limit your refill to two or three sticks of graphite at a time. Dropping too many pieces into the reservoir creates friction and increases the chance of breakage inside the barrel during writing or clicking.
Why does my mechanical pencil keep breaking the lead?
Frequent breakage usually stems from using lead that is too soft for your writing pressure, or from a partially blocked tip. Clear any broken fragments from the internal mechanism and try a harder grade like HB instead of 2B.
What size lead do most mechanical pencils use?
The 0.5mm and 0.7mm sizes are the most common standards for everyday writing and note-taking. Drafting pencils often use 0.3mm for fine lines, while heavy writers prefer 0.9mm for added durability.
What is the metal pin under the eraser for?
That pin is a clearing rod designed to push jammed graphite fragments out of the tip. If your pencil stops advancing, remove the eraser and push the pin down from the rear to clear the blockage.