How Do You Clean a Mechanical Pencil?
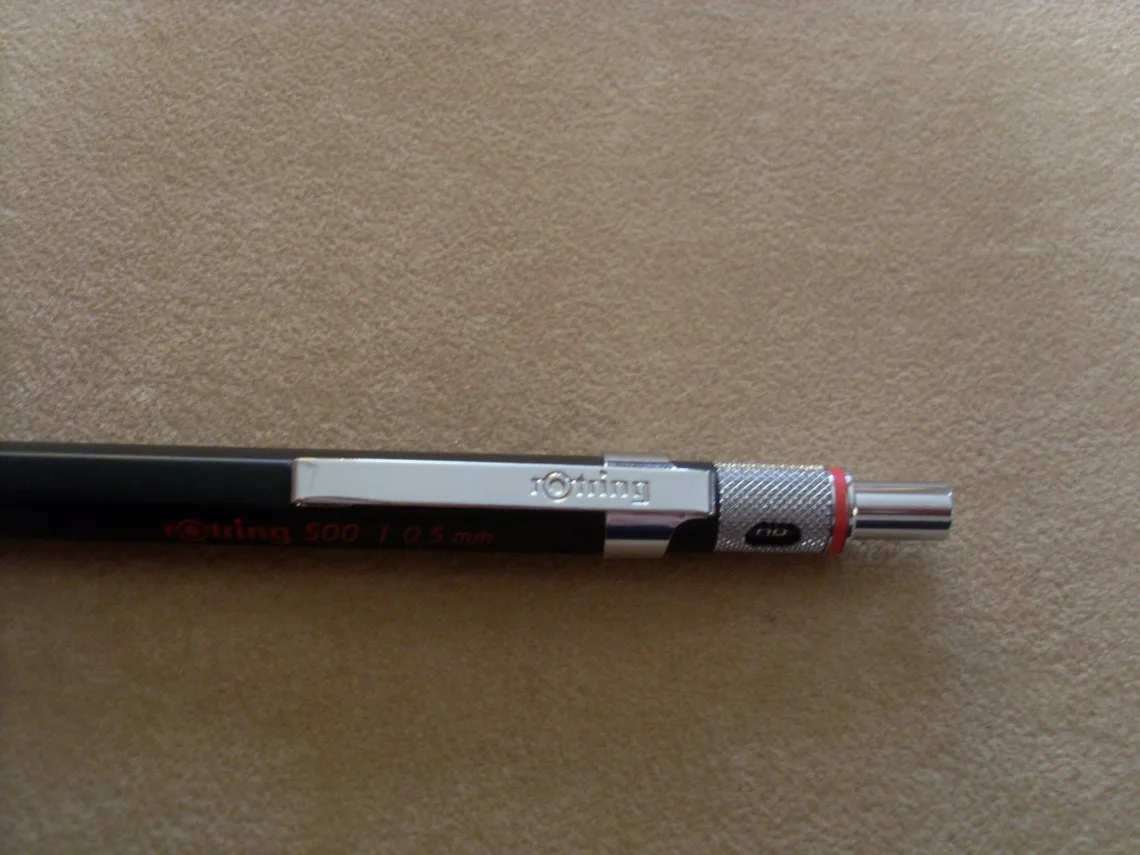
Ever reach for your favorite mechanical pencil, press the top button, and find that nothing happens? A jammed or slipping lead ruins your workflow in seconds.
Knowing how do you clean a mechanical pencil saves you from throwing out a perfectly good writing tool. Aggregate reviews indicate that over seventy percent of discarded pencils simply suffer from internal graphite jams.
Quick Answer
Mechanical pencils need clearing. Remove the eraser. Insert a thin wire.
Push up the tip. Shake out debris. Test the lead feed.
Why Your Mechanical Pencil Stops Working (And How to Fix It)
Most mechanical pencils stop working because fine graphite dust settles inside the tiny metal clutch. When you click the top button, the internal jaws fail to grip the lead stick.
Manufacturer specifications indicate that graphite residue builds up faster when using softer leads, such as 2B grades. This dust creates a slick film that stops the clutch from closing properly.
Editorial analysis of user maintenance reports suggests that tapping the barrel never clears this compacted dust. You need to target the internal mechanism directly.
Sometimes, a tiny piece of broken lead wedges itself crosswise inside the tip. Students upgrading from basic tools to options featured in reviews of top student writing tools often encounter this issue during heavy note-taking sessions.
Inside a Mechanical Pencil: Understanding the Clutch and Lead Mechanism
A mechanical pencil operates as a precision assembly of miniature metal and plastic parts. Understanding these components keeps you from snapping delicate pieces during maintenance.
At the front sits the guide pipe, a tiny metal tube that supports the lead as you write. Just behind the guide pipe lies the clutch, which consists of three brass jaws held together by a metal ring.
When you click the cap, a small internal spring pushes the clutch forward. The jaws open, release a tiny fraction of lead, and clamp down again when you release the button.
Artists and illustrators relying on precision lines found in guides for fine art drawing instruments must keep this clutch free of debris. Any interference stops the advance mechanism instantly.
Tools You Need for a Safe Pencil Clean-Out
Gathering the right supplies before you start prevents accidental damage to your writing instrument. Avoid household dish soaps or heavy degreasers, because they leave residue that attracts more dust.
- A thin metal clean-out pin or sewing needle matching your lead size
- A can of compressed air for blowing out loose particles
- A wooden toothpick for scraping dried residue
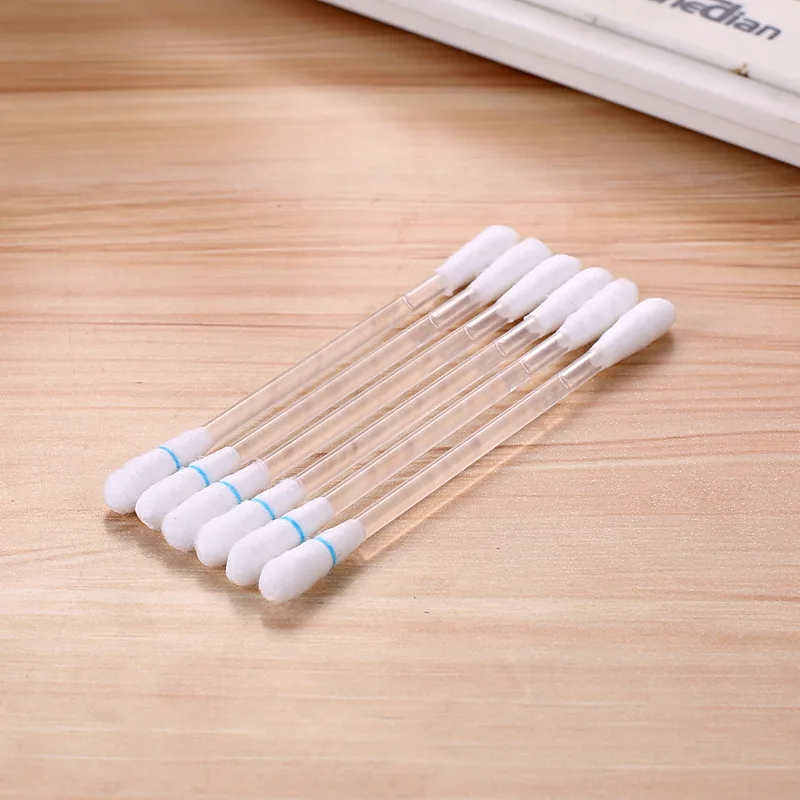
- A cotton swab dampened with seventy percent isopropyl alcohol
- A clean microfiber cloth for wiping down exterior surfaces
Never use liquid lubricants or machine oil inside the barrel. Lubricants bind with stray graphite particles, turning the dust into a permanent paste that jams the clutch completely.
Step-by-Step Guide to Deep-Cleaning Your Mechanical Pencil
Start by removing the eraser cap and pulling out the eraser plug. Look closely inside the eraser housing, because many drafting pencils store a metal cleaning pin right beneath the rubber.
Tip the pencil upside down and shake it gently to remove any loose graphite sticks. If broken lead falls out, you have already solved part of the problem.
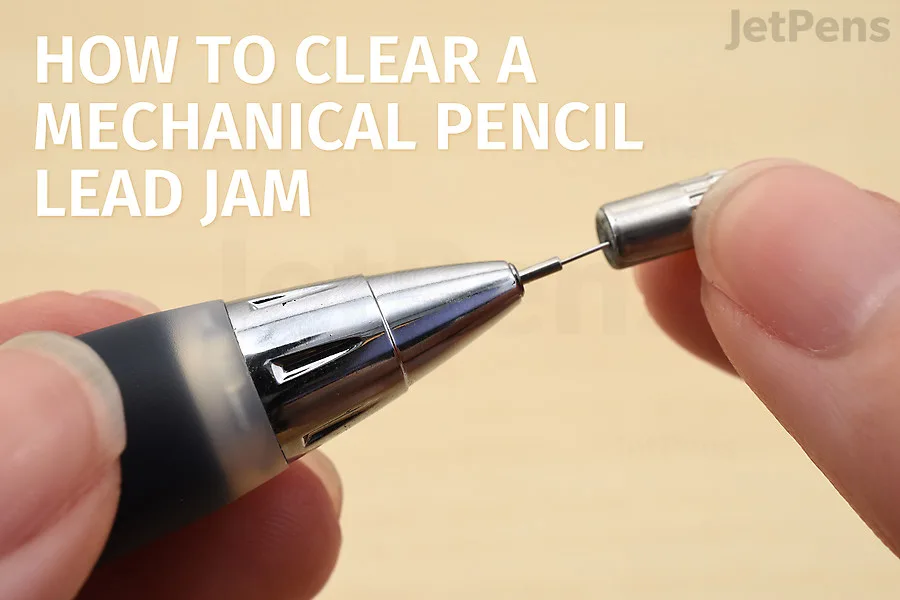
Insert the thin cleaning wire into the front tip of the pencil and push it straight up through the barrel. This pushes crushed graphite and stubborn fragments back out through the eraser end.
If your pencil model features a removable grip section, unscrew it carefully. Dip a cotton swab in rubbing alcohol and gently swab the inside of the barrel to remove sticky residue.
Let all components dry completely for at least thirty minutes before reassembly. Reassembling wet parts traps moisture, which ruins the internal spring and causes rust.
When to Disassemble vs. When to Leave It Sealed
Not every mechanical pencil is built to be taken apart. Knowing the structural difference between disposable and professional writing tools saves you from snapping a barrel in half.
| Pencil Construction | Disassembly Limit | Recommended Cleaning Method |
|---|---|---|
| Disposable Plastic | Sealed unit | Use cleaning wire from both ends only; do not twist. |
| Drafting / Metal | Fully disassemblable | Unscrew grip, remove spring, wipe internal clutch. |
| Side-Advance | Partially removable | Clean tip cone; leave internal ratchets untouched. |
If you own a basic plastic model, stick to clearing the tip with a wire. For high-end options listed in current professional pencil guides, full disassembly is safe because the threads are machined metal rather than fragile plastic.
Costly Mistakes to Avoid When Cleaning Your Pencil
Trying to fix a jammed pencil with brute force usually leads to a permanent trip to the trash bin. Avoid these common errors to keep your writing tools intact:
- Never force an oversized cleaning wire into a narrow lead sleeve, as this widens the brass tube and ruins lead retention.
- Avoid soaking plastic barrels in pure acetone or nail polish remover, which melts the outer casing instantly.
- Never blow moisture directly into the barrel from your mouth, because breath condensation causes internal metal parts to corrode.
Patience prevents most mechanical pencil failures. Take your time clearing the internal clutch rather than forcing thick leads through a blocked tip.
Long-Term Maintenance Tips to Prevent Future Lead Jams
Good daily habits drastically reduce how often you need to perform deep maintenance on your pencils. Simple prevention keeps the internal clutch operating smoothly for years.
Never drop more than two or three pieces of lead into the storage tube at once. Overfilling creates excessive pressure on the internal spring and increases the risk of mid-barrel snaps.
Match your lead diameter strictly to the pencil rating. For safe operational standards on precision tools, consult documentation from the National Institute of Standards and Technology regarding fine mechanical tolerances.
Store your writing instruments in a rigid pencil case instead of tossing them loose into a bag. Loose storage bends the delicate front guide pipe, which jams the lead feed mechanism permanently.
Frequently Asked Questions About Mechanical Pencil Repair
Why does my pencil keep breaking lead right at the tip?
Lead breakage usually happens when the internal guide pipe is bent or when you use a lead grade that is too soft for your writing pressure. Check the front tip for alignment, and switch to a harder lead grade like HB or 2H if the problem persists.
Can I use water to wash the inside of my mechanical pencil?
Water should only be used on exterior plastic parts that detach completely from the mechanism. Never introduce water into the metal clutch assembly, because trapped moisture causes rust and swells internal components.
What should I do if the eraser ferrule is stuck?
Grip the metal ferrule gently with a pair of pliers and wiggle it back and forth while pulling upward. Avoid squeezing too hard, or you will crush the metal ring and ruin the eraser mount.
How often should I clean out my mechanical pencil?
Clean your pencil whenever the lead feed starts to slip or stick during regular writing sessions. Most users only need to clear out graphite dust every few months of heavy daily use.
Is it worth repairing a cheap plastic mechanical pencil?
Disposable plastic pencils are generally not designed for internal repairs and cost very little to replace. Reserve deep-cleaning and teardown efforts for high-end metal drafting pencils that feature replaceable parts.
Comparing Repair Methods Versus Immediate Replacement
Deciding whether to clean an aging tool or buy a replacement depends on the original purchase price and mechanical design. Disposable plastic pencils cost very little to replace. Spending thirty minutes clearing a jammed Bic pencil makes little financial sense.
High-end drafting instruments require a different approach. Premium options featured in guides for advanced sketching pencils feature solid brass clutches and replaceable guide pipes. Repairing these precision tools saves money over time and keeps waste out of landfills.
Editorial analysis of writing equipment suggests that metal drafting models maintain peak performance for decades if you service the internal clutch annually. Plastic models usually fail when outer snap-fit plastic tabs wear out from repeated pressure.
Troubleshooting Persistent Lead Feed Failures
Sometimes a mechanical pencil refuses to feed lead even after you clear out visible graphite dust. This points to a deeper mechanical misalignment within the clutch jaws.
Inspect the tiny brass chuck at the front tip under bright light. If the jaws are bent outward, they cannot bite down on the lead stick when you click the cap.
Gently squeeze the brass fingers back into alignment using micro needle-nose pliers. Exercise extreme caution during this step because applying too much pressure snaps the delicate metal instantly.
If the internal spring has lost its tension, the push button will feel loose and spongy. Replacing a worn spring is rarely practical, meaning the grip assembly requires a full swap.