How Do You Unclog a Mechanical Pencil?
Dealing with a jammed graphite point can bring your writing or drafting to a sudden halt. Figuring out how do you unclog a mechanical pencil safely relies on understanding the tiny internal parts that make these writing instruments tick.
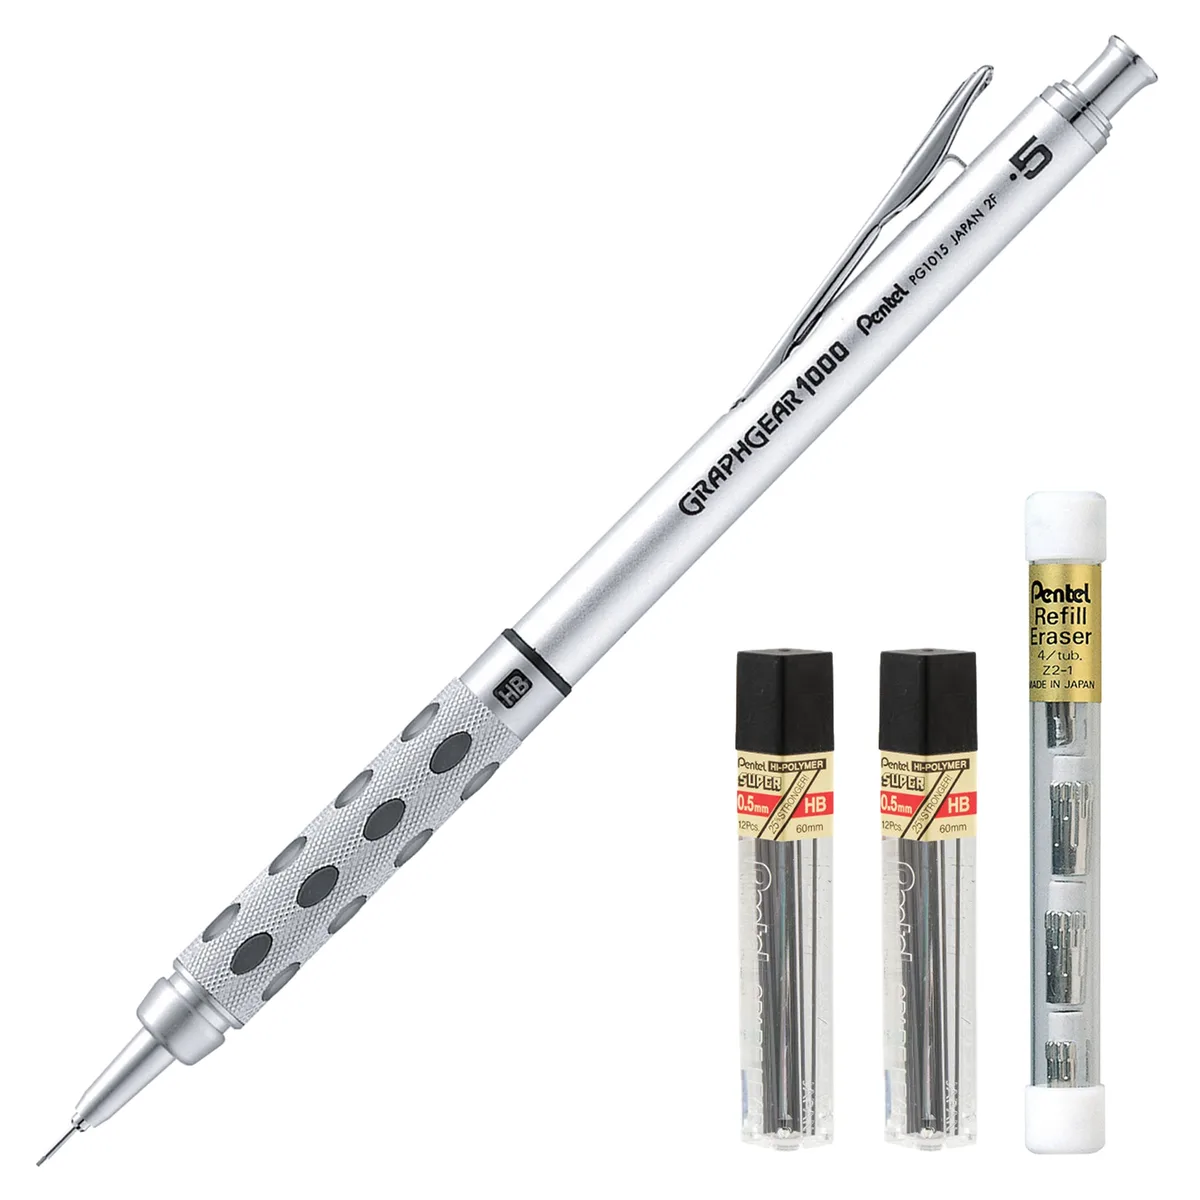
Image source: Bing (Web (fair-use with source credit))
Most jams happen when a piece of polymer graphite lead snaps inside the brass guide tube. Clearing it out requires the right approach so you don't ruin the clutch mechanism.
Quick Answer
A jammed mechanical pencil needs rear-end clearance. Remove the eraser cap and the eraser. Pull out the small metal cleaning rod tucked inside.
Push that rod down through the rear brass tube. The broken graphite will pop out the front tip.
Why Your Mechanical Pencil Keeps Jamming
Graphite is remarkably brittle under lateral pressure. Pressing too hard while writing or dropping your writing tool often snaps the lead right at the tip. When it breaks inside the internal sleeve, the remaining piece wedges tightly against the metal walls.
Many users try to force a fresh piece of lead into the back. That only drives the broken fragment deeper into the clutch mechanism. Aggregate user reviews show that forced loading is the number one cause of permanent internal blockages.
Drafting models with ultra-fine leads, such as those you might pick for precision work outlined in guides on top-rated drafting tools, are especially prone to this issue. Understanding your tool's build prevents unnecessary frustration.
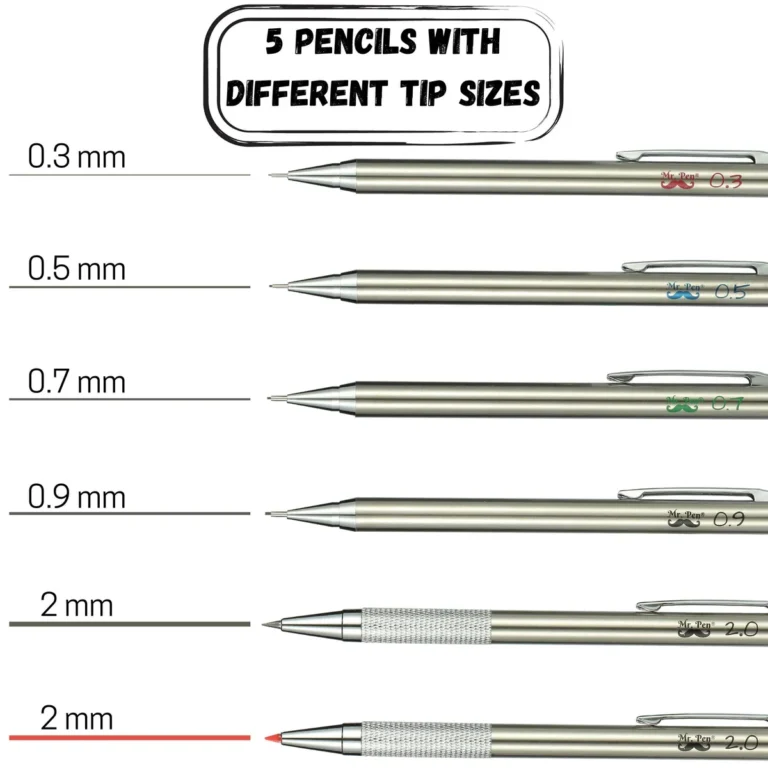
| Lead Size | Common Cause of Jam | Recommended Clearing Tool |
|---|---|---|
| 0.3mm | Forced writing pressure | Built-in 0.3mm clearing pin |
| 0.5mm | Dropping the pencil | Built-in 0.5mm clearing pin |
| 0.7mm | Low-quality soft lead | Built-in 0.7mm clearing pin |
| 0.9mm | Debris accumulation | Built-in 0.9mm clearing pin |
Anatomy of a Jam: Understanding the Clutch and Brass Tube
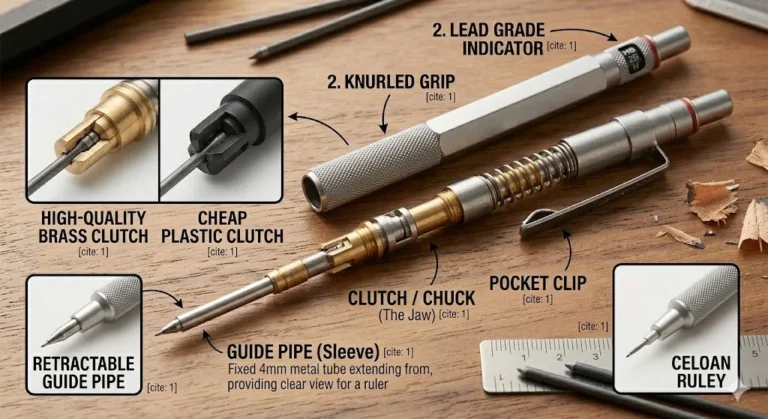
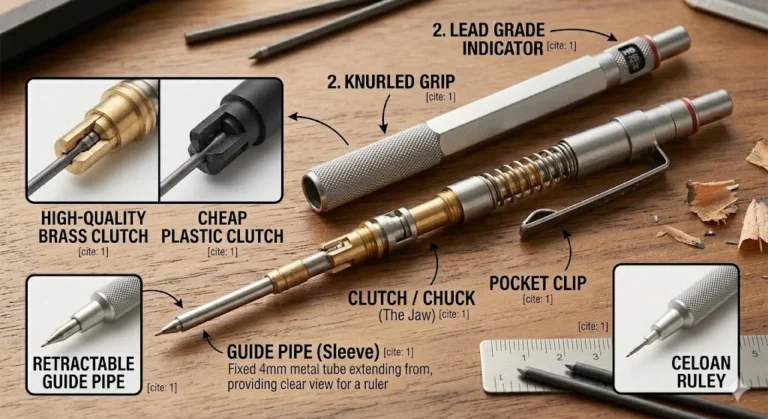
Inside every reliable writing instrument, a complex set of parts controls how the graphite advances. At the core, tiny brass clutch jaws grip the lead and hold it in place. A slender brass guide tube channels the graphite downward toward the tip sleeve.
Image source: Web (Bing) / nicholashemingway.com (Web image (fair-use with source credit))
When lead breaks off inside, it gets trapped right where the brass tube meets the clutch jaws. Because these components are machined to microscopic tolerances, even a microscopic speck of dust can cause friction. If you are comparing daily drivers, knowing these details helps you choose between standard models and the preferred student instruments known for rugged internal build quality.
Manufacturer specifications indicate that high-end drafting tools use brass rather than plastic for these internal junctions. This metal construction ensures longevity, but it also means rigid jams require precise removal techniques.
The Golden Rule: Why Standard Pins Will Ruin Your Pencil
A common mistake involves grabbing the nearest sewing needle or paperclip to poke out a stubborn jam. This shortcut almost always destroys the pencil. Standard sewing needles are often too thick for fine leads, or their tapered shafts warp the delicate brass tube.
If you push an oversized pin into a 0.5mm barrel, you risk splitting the brass or jamming the clutch jaws permanently. Always rely on the factory-provided cleaning rod. If you need a replacement writing instrument that withstands heavy daily use, check out our guide on durable everyday options.
Standards set by the International Organization for Standardization govern writing and marking instrument manufacturing tolerances. These strict guidelines mean internal channels leave zero margin for error when you insert foreign objects.
Step-by-Step: Clearing a Lead Jam from the Rear
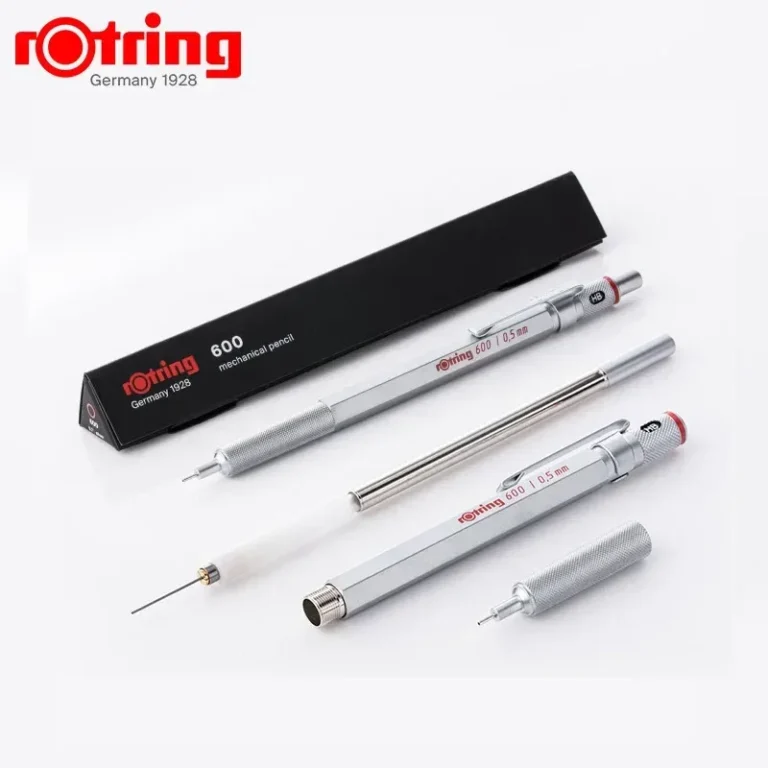
Clearing a jam safely takes less than two minutes when you follow the right sequence. Start by taking off the eraser cap and removing the eraser entirely. Look closely inside the metal housing to spot the tiny clearing pin attached to the bottom of the eraser.
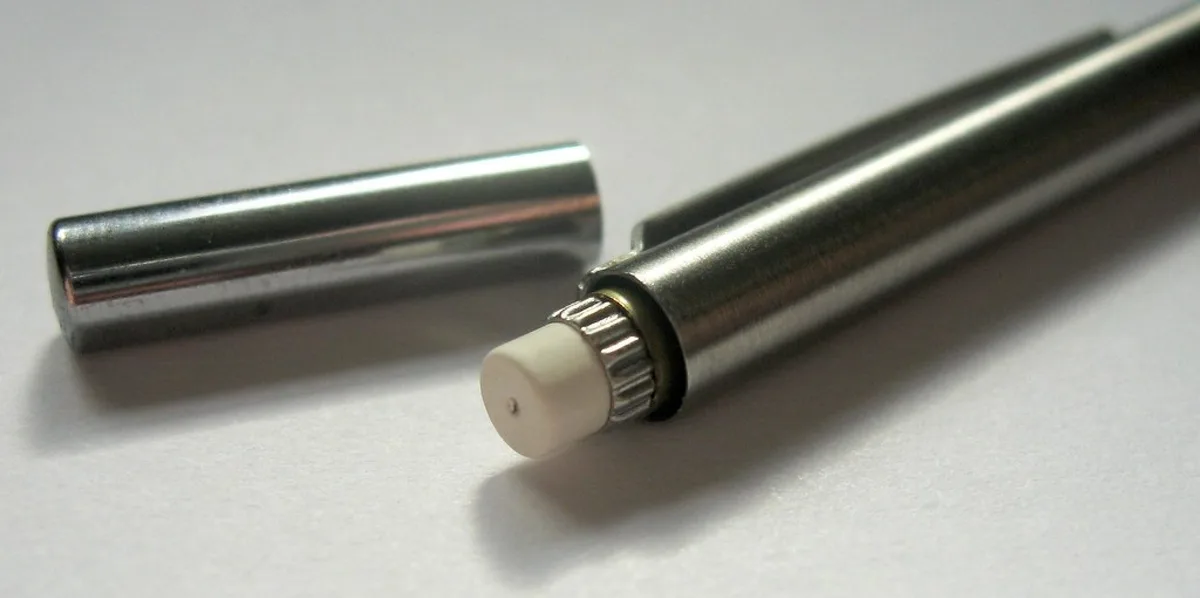
Image source: Bing (Web (fair-use with source credit))
Pull that thin metal rod straight up and out of the eraser base. Insert the blunt end of the rod into the top opening of the brass guide tube. Push gently downward until you feel resistance from the broken graphite fragment.
Apply steady, gentle pressure until the jammed piece pops out through the front tip. Never force the rod if it hits a hard stop. You might be striking the closed clutch jaws instead of a lead fragment.
Release the push button at the top to open the clutch jaws if the wire still will not pass through. Push the cleaning rod all the way through the tip to clear out any remaining dust or graphite powder. Pull the cleaning rod back out carefully.
Press the eraser back into place and test the advance mechanism with a fresh piece of lead.
Fixing Front-End Blockages and Stubborn Clutches
Sometimes a lead jam happens near the very front of the tip rather than higher up in the barrel. If pushing from the rear does not work, you might need to inspect the front sleeve. Unscrew the metal cone at the tip of the pencil very carefully.
Watch out for loose springs or tiny clutch components inside that might jump out when you open the casing. Pull the outer sleeve away to expose the brass clutch mechanism directly. Use a pair of precision tweezers to pull out any fragments wedged between the jaws.
Check for bent metal teeth or worn components that might trap graphite repeatedly. If the clutch fails to grip new lead after clearing, the jaws may be permanently warped from previous heavy pressure. Reassemble the tip components securely before loading fresh graphite.
Costly Mistakes That Turn a Quick Fix into Garbage
Many well-meaning attempts to fix a jammed pencil end up destroying the mechanism entirely. Avoid dropping glue, oil, or lubricants down the barrel to loosen stuck lead. Liquid lubricants turn graphite dust into a thick paste that ruins the internal clutch permanently.
Never use pliers or heavy tools to grip the delicate brass tip cone. You will easily crush the thin metal threading and render the pencil useless. Another frequent error is dropping lead down the front tip of a pencil designed only for rear loading.
Front-loading pencils often feature a one-way valve or specialized jaw system that blocks exterior insertion. Forcing lead through the front damages the delicate alignment required for smooth writing. Stick to standard manufacturer reloading protocols to keep your tools functional for years.
Frequently Asked Questions About Mechanical Pencil Jams
What should I do if my pencil didn't come with a cleaning rod?
Look inside the eraser unit again because manufacturers hide them underneath the removable rubber core. If your pencil lacks one entirely, find a copper wire or guitar string matching your lead diameter. Avoid sewing needles because their tapered shafts easily warp internal guide tubes.
Why does lead keep breaking inside my mechanical pencil?
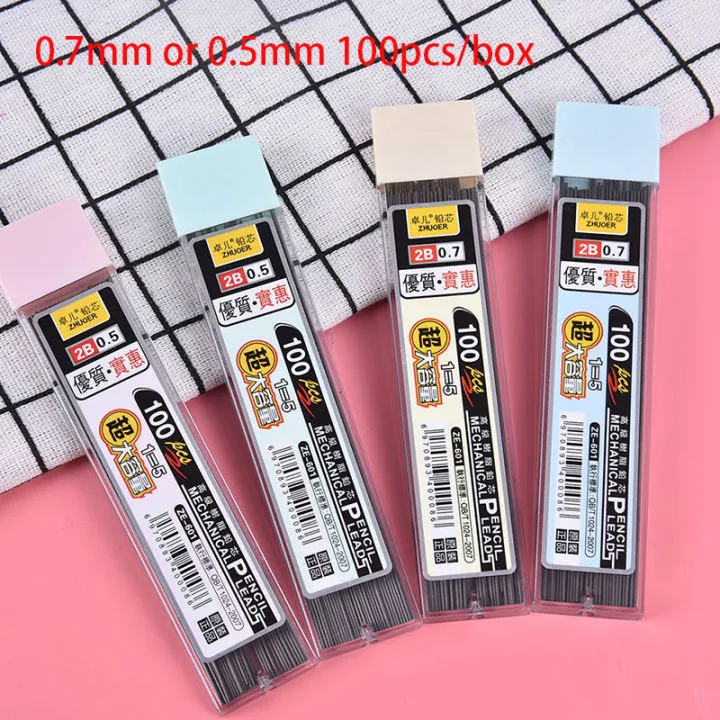
Frequent internal breaks usually stem from using low-grade graphite or dropping the pencil on hard surfaces. Weakened leads snap under normal writing pressure inside the brass sleeve. Switch to higher-density polymer leads to reduce fracturing during daily drafting tasks.
Can I use rubbing alcohol to clean graphite dust out of the barrel?
Skip liquid solvents entirely because they mix with graphite dust to form a sticky paste. This residue gums up the brass clutch jaws and stops the advance mechanism from working. Clean the interior exclusively with dry air or the manufacturer cleaning rod.
Why does lead slide right through the tip without stopping?
The tiny brass clutch jaws at the front are stuck open or have lost their grip strength. Take off the tip cone and check for trapped debris preventing the jaws from closing. If the metal teeth are deformed, you will need to replace the internal clutch assembly.